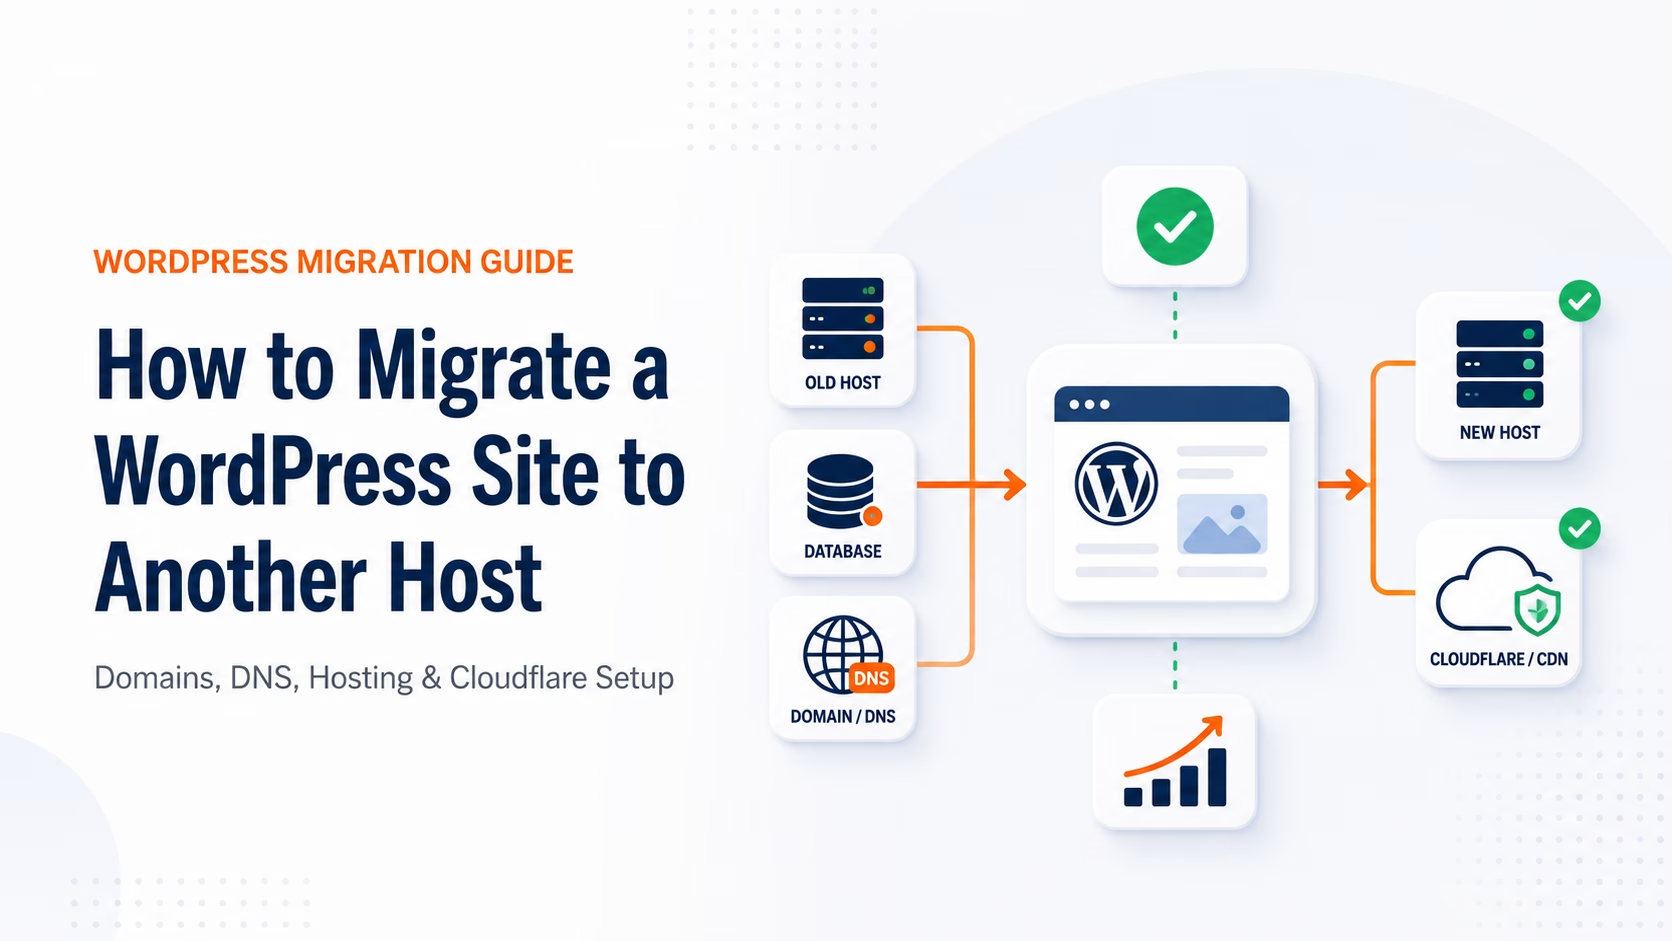
How to Migrate a WordPress Site to Another Host: Complete 2026 Migration Guide
Moving a WordPress website from one hosting provider to another sounds simple:
Copy the website. Point the domain. Done.
In reality, a website migration can involve several completely separate systems:
- WordPress files
- databases
- hosting servers
- domain registration
- DNS
- SSL certificates
- email records
- CDN configuration
- caching
- analytics
- third-party integrations
If those systems are migrated in the wrong order, you can end up with website downtime, broken email, SSL errors, missing orders, DNS problems, or a website that works for some visitors but not others.
This guide walks through a professional WordPress migration process from start to finish, including specific instructions for:
- GoDaddy to InMotion Hosting
- InMotion Hosting to GoDaddy
- Namecheap to InMotion
- InMotion to Namecheap
- AWS Route 53 to InMotion
- InMotion to AWS Route 53
- Bluehost to InMotion
- InMotion to Bluehost
- WordPress migrations into GoDaddy
- WordPress migrations into InMotion
- ManageWP migrations
- All-in-One WP Migration
- manual FTP/SFTP migrations
- manual database migrations
- Cloudflare DNS and CDN setup
- email protection during migrations
- zero-downtime website cutovers
The goal is not simply to move a WordPress website.
The goal is to move it without breaking anything.
Quick Navigation
- The 3 Parts of a Website Migration
- GoDaddy to InMotion Domain Migration
- Namecheap and InMotion Domain Transfers
- AWS Route 53 and InMotion Domain Transfers
- Bluehost and InMotion Domain Transfers
- How to Migrate WordPress Into GoDaddy
- How to Migrate WordPress Into InMotion Hosting
- How to Set Up Cloudflare After a Migration
- How to Protect Email During a Website Migration
- Zero-Downtime WordPress Migration Process
- WordPress Migration Decision Tree
- WordPress Migration FAQ
The 3 Parts of How to Migrate a WordPress Site to Another Host
One of the biggest mistakes people make during a hosting migration is treating the domain, DNS, and website as if they are the same thing.
They are not.
A professional migration separates them into three systems.
1. Website Hosting Migration
The hosting migration is the actual movement of the WordPress website.
This can include:
- WordPress core files
- themes
- plugins
- uploads
wp-content- custom files
- WordPress database
- PHP configuration
- server configuration
- caching configuration
For example:
Old hosting: InMotion Hosting
New hosting: GoDaddy
Your WordPress website can move to GoDaddy while the domain itself remains registered with Namecheap, InMotion, GoDaddy, Cloudflare Registrar, AWS, or another registrar.
Moving the website does not require moving the domain registration.
2. DNS Migration or DNS Cutover
DNS determines where internet traffic should go.
For a website migration, this usually means changing either:
- the website’s A record, or
- the domain’s nameservers
An A record might look like:
example.com → 192.0.2.50
When you Migrate a WordPress Site to Another Host, you change that IP to the new server.
Alternatively, you may change the authoritative nameservers entirely.
For example:
Old nameservers:
ns1.oldhost.com
ns2.oldhost.com
New nameservers:
ns1.newhost.com
ns2.newhost.com
Changing DNS does not change who owns or bills the domain.
3. Domain Registrar Transfer
The registrar is the company responsible for the domain registration itself.
Examples include:
- GoDaddy
- Namecheap
- Cloudflare Registrar
- Route 53
- Bluehost
- InMotion Hosting
Moving a domain registration usually requires:
- unlocking the domain
- obtaining an EPP or authorization code
- confirming the registrant email
- approving the transfer
- waiting several days
A registrar transfer should usually be treated as a separate project from the website migration.
If your only goal is moving WordPress from one server to another, you probably do not need to transfer the domain registration at all.
The Correct WordPress Migration Order
The safest way to Migrate a WordPress Site to Another Host is to separate preparation, migration, testing, and DNS changes.
A good migration follows this sequence.
Phase 1: Audit the Existing Website
Before touching anything, document the current setup.
Record:
- domain registrar
- hosting company
- DNS provider
- nameservers
- current website IP
- WordPress login
- FTP or SFTP credentials
- database credentials
- PHP version
- WordPress version
- active theme
- critical plugins
- email provider
- MX records
- SPF records
- DKIM records
- DMARC records
- important TXT records
- important CNAME records
- subdomains
- redirect rules
- Cloudflare status
- SSL configuration
Take screenshots of the DNS zone or export it if your provider allows you to.
This step can save hours if something goes wrong.
Phase 2: Prepare the New Hosting Account
Create the destination environment before changing public DNS.
Confirm:
- the domain is added to the hosting account
- the correct document root exists
- PHP is compatible
- WordPress can run
- database access works
- SFTP or FTP access works
- SSL can be installed
- you know the new server IP address
Do not point the live domain at the new server yet.
Phase 3: Migrate WordPress
Move the website using one of several methods:
Automatic migration
Best for straightforward sites.
Migration plugin
Examples:
- ManageWP
- All-in-One WP Migration
Manual migration
Usually involves:
- downloading WordPress files
- exporting the MySQL database
- uploading files to the new host
- importing the database
- updating
wp-config.php
The correct method depends on the source host, destination host, site size, and level of server access.
Phase 4: Test Before Changing DNS
Never assume a successful file transfer means the website works.
Test the destination server first.
Depending on the host, you may use:
- a temporary URL
- a staging URL
- a temporary domain
- a local HOSTS-file override
Check:
- homepage
- service pages
- blog posts
- navigation
- images
- CSS
- JavaScript
- mobile layout
- admin login
- forms
- lead notifications
- ecommerce
- checkout
- user accounts
- CRM connections
- analytics
- Meta Pixel
- Google Tag Manager
- redirects
- sitemap
- robots.txt
- API connections
For client or revenue-generating websites, this step is mandatory.
Phase 5: Recreate DNS and Email Records
If you are changing nameservers, you are also changing where DNS is managed.
That means you must recreate critical records before the cutover.
Pay particular attention to:
- MX
- SPF
- DKIM
- DMARC
- TXT verification
- CNAME verification
- subdomains
This is where many migrations accidentally break company email.
If your email is hosted with Google Workspace or Microsoft 365, moving your website hosting should not change those email records.
Phase 6: Point Traffic to the New Server
Once the new website is working, update DNS.
You may change:
The A record
or
The nameservers
If Cloudflare is already managing DNS, you may only need to change one A record.
That is one reason Cloudflare is so useful for businesses managing multiple websites.
Phase 7: Verify the Live Website
Once the DNS change begins propagating, check:
- domain loads
- HTTPS works
- www works
- non-www works
- forms submit
- emails arrive
- ecommerce works
- WordPress login works
- analytics records traffic
- CRM connections work
- redirects work
- Cloudflare caching works
Test using:
- desktop
- mobile
- incognito mode
- another internet connection
Phase 8: Transfer the Registrar Only If Necessary
If you also want to move the domain registration, do it after the website is working on the new server.
This prevents you from changing:
- hosting
- DNS
- registrar
- SSL
all at once.
The fewer systems you change simultaneously, the easier the migration is to troubleshoot.
GoDaddy to InMotion Domain Migration
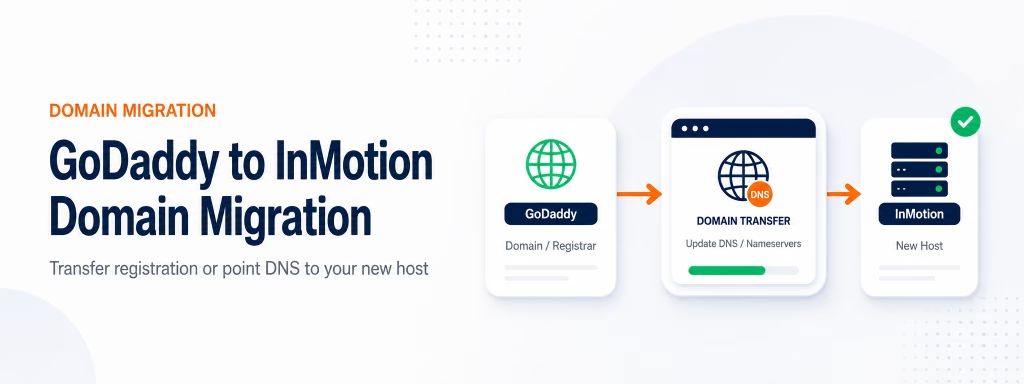
There are two different ways to move from GoDaddy to InMotion.
Option 1: Keep the Domain at GoDaddy
This is usually the easiest option. You can leave GoDaddy as the registrar and simply point the website toward InMotion.
InMotion’s standard U.S. nameservers are generally:
ns1.inmotionhosting.com
ns2.inmotionhosting.com
European hosting may use:
ns3.inmotionhosting.com
ns4.inmotionhosting.com
Always verify the nameservers listed in your actual InMotion account.
Inside GoDaddy, the process generally follows:
Domain Portfolio → Domain → DNS → Nameservers
Enter the custom nameservers supplied by InMotion.
Alternatively, if another provider such as Cloudflare is managing DNS, you can leave the nameservers alone and simply change the website A record.
Option 2: Transfer the Domain From GoDaddy to InMotion
If you want InMotion to become the registrar as well:
Inside GoDaddy:
- Open your Domain Portfolio.
- Select the domain.
- Open the transfer options.
- Choose to transfer the domain to another registrar.
- Verify the domain is eligible.
- Unlock the domain.
- Adjust domain protection or privacy if required.
- Retrieve the authorization or EPP code.
Then inside InMotion:
AMP → Domains → Domain Transfers
Enter:
- domain
- authorization code
Complete the transfer process.
Keep in mind that many domains are subject to transfer restrictions shortly after:
- registration
- another registrar transfer
- certain ownership/contact changes
A registrar transfer may take several days.ry.
Namecheap and InMotion Domain Transfers
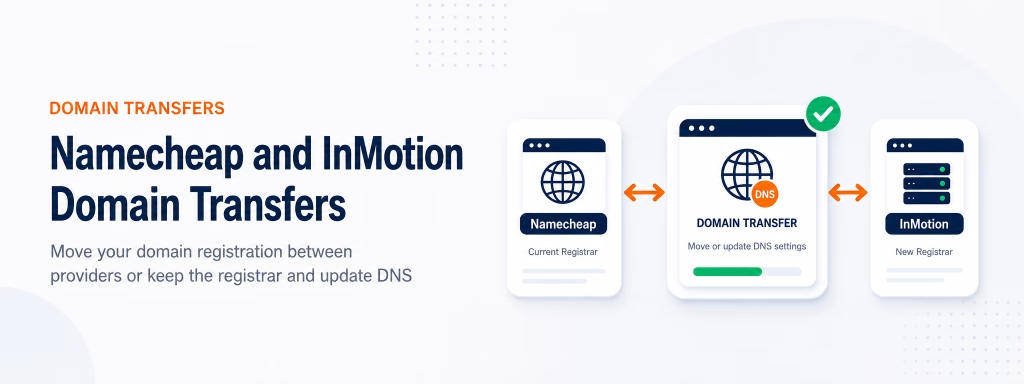
Namecheap to InMotion
You can keep Namecheap as the registrar and only change DNS.
If you want to transfer the registration:
Inside Namecheap:
Domain List → Manage → Sharing & Transfer → Transfer Out
Then:
- Disable Registrar Lock.
- Request the Auth/EPP code.
- Retrieve the code from the registrant email.
- Start the inbound transfer through InMotion.
Inside InMotion:
AMP → Domains → Domain Transfers
Enter the domain and authorization code.
InMotion to Namecheap
At InMotion:
- Unlock the domain.
- Obtain the authorization code.
Then inside Namecheap:
- Open the domain transfer interface.
- Enter the domain.
- Confirm transfer eligibility.
- Enter the EPP/Auth code.
- Complete checkout.
- Approve any transfer confirmation.
Again, the registrar does not need to move simply because the WordPress host is changing.
AWS Route 53 and InMotion Domain Transfers
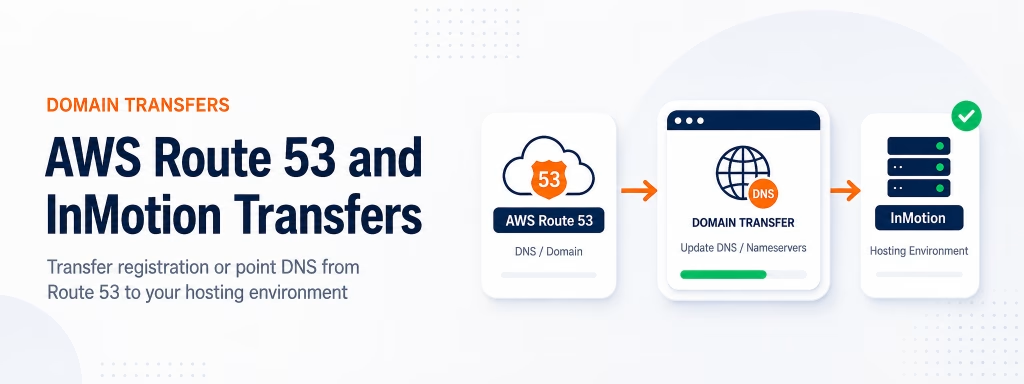
AWS creates an additional layer of confusion because Route 53 can be used for either:
- domain registration
- DNS hosting
- or both
These are not the same thing.
If Route 53 Is Only Managing DNS
You do not need to transfer the domain.
Simply change the relevant DNS record to point to the InMotion server.
Route 53 Domain Registration to InMotion
Inside AWS:
Route 53 → Registered Domains → Domain
Then:
- Confirm the domain can transfer.
- Disable Transfer Lock.
- Select Transfer Out.
- Choose to transfer to another registrar.
- Retrieve the authorization code.
Then begin the transfer through InMotion AMP.
InMotion to AWS Route 53
At InMotion:
- Unlock the domain.
- Obtain the EPP/Auth code.
Then inside AWS:
Route 53 → Registered Domains → Transfer In
Enter:
- domain name
- authorization code
- registrant information
- payment information
Complete any email verification AWS requires.
Bluehost and InMotion Domain Transfers
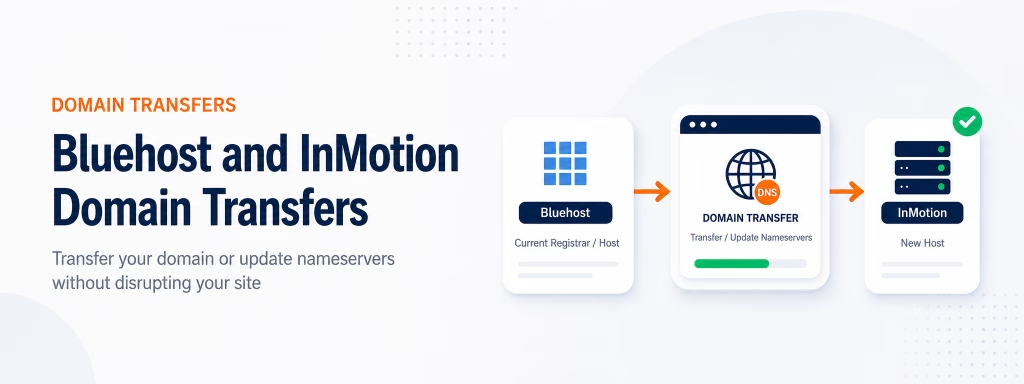
Bluehost to InMotion
If the domain can stay at Bluehost, simply update DNS after the website is migrated.
If you want to transfer the registration:
Inside Bluehost, locate the domain’s transfer or access settings and request the EPP/Auth code.
Verify:
- domain is unlocked
- registrant email is correct
- authorization code is available
Then start the inbound transfer through InMotion.
InMotion to Bluehost
At InMotion:
- Unlock the domain.
- Obtain the EPP/Auth code.
Inside Bluehost:
- Open the domain transfer feature.
- Enter the domain.
- Verify eligibility.
- Enter the authorization code.
- Complete the transfer order.
- Monitor transfer status.
How to Migrate WordPress Into GoDaddy
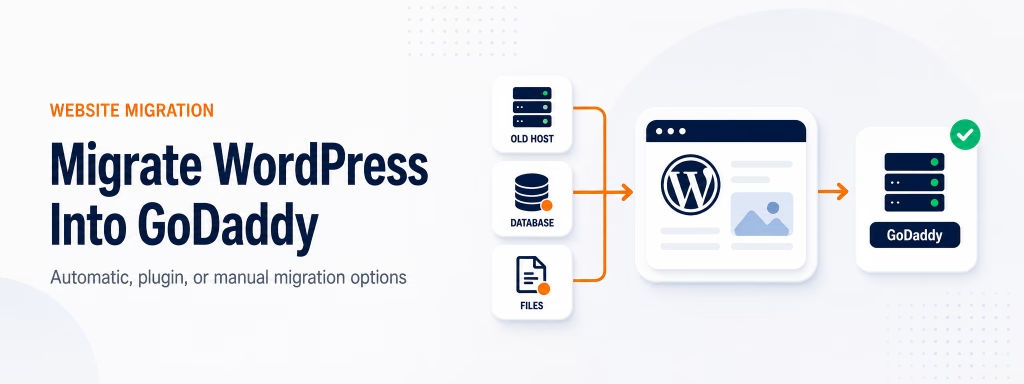
There are three main methods worth knowing.
Method 1: GoDaddy Automatic WordPress Migration
This is generally the best method for a normal WordPress site where you have working administrator credentials.
One important detail is that GoDaddy’s automatic migration workflow is commonly part of the initial Managed WordPress setup process.
That means you may see the migration option when initially provisioning a site but not necessarily after the destination site has already been fully configured.
The workflow generally looks like:
- Provision Managed WordPress.
- Choose Import an existing WordPress site.
- Enter the current website URL.
- Connect the existing WordPress site.
- Provide administrator credentials.
- Allow GoDaddy to migrate the site.
- Preview the migrated website.
- Test everything.
- Point DNS to GoDaddy.
GoDaddy uses ManageWP technology as part of this process.
Before Running an Automatic GoDaddy Migration
Make sure:
- the source website is publicly accessible
- WordPress admin works
- the site is not stuck in maintenance mode
- security plugins are not blocking migration requests
- CAPTCHA is not interfering with login
- custom WordPress login URLs are accessible
- firewalls are not blocking ManageWP or GoDaddy
Aggressive security tools can cause otherwise healthy migrations to fail.
Method 2: Migrate Into GoDaddy Using ManageWP
ManageWP is useful when the GoDaddy destination has already been created.
Install ManageWP Worker on the source WordPress website.
Then add both websites to ManageWP.
The general process is:
- Add the existing site to ManageWP.
- Add the new GoDaddy WordPress site.
- Open the source site.
- Create a backup.
- Select the backup.
- Choose Clone Website.
- Select the existing GoDaddy destination site.
- Start the clone.
- Log into the new WordPress installation.
- Test the migrated site.
- Update DNS.
This is often easier than manually handling FTP files and MySQL databases.
Method 3: Manually Migrate WordPress Into GoDaddy
Manual migration is the fallback when:
- automatic migration fails
- ManageWP cannot connect
- WordPress admin is broken
- the site has unusual server requirements
- the website is extremely large
- you only have FTP/database access
A manual WordPress migration has two major parts:
- WordPress files
- WordPress database
Step 1: Create the Destination WordPress Installation
Provision WordPress inside GoDaddy.
Understand that you may overwrite the new installation during the migration.
Step 2: Download the Existing WordPress Files
Connect to the source server using:
- FTP
- SFTP
- hosting file manager
Download the WordPress files.
Pay particular attention to:
wp-content
Inside that directory are typically:
- plugins
- themes
- uploads
Custom files may also exist outside of wp-content.
Step 3: Export the WordPress Database
Open phpMyAdmin at the old hosting provider.
Select the correct WordPress database.
Choose:
Export → SQL
Download the SQL file.
Step 4: Upload the Website Files to GoDaddy
Connect to GoDaddy Managed WordPress using SFTP.
Upload the required website files.
Be careful when replacing managed WordPress core files unnecessarily.
Step 5: Import the Database
Open the GoDaddy database management interface and launch phpMyAdmin.
Select the destination database.
Import the SQL file.
Step 6: Verify wp-config.php
Check:
DB_NAME
DB_USER
DB_PASSWORD
DB_HOST
These values must match the destination database.
Step 7: Handle URL Changes Correctly
If the domain is staying the same, avoid unnecessary URL replacement.
If the domain is changing, do not perform a crude text replacement inside the raw SQL database.
WordPress stores serialized data.
Use a WordPress-safe search-and-replace method such as:
- WP-CLI search-replace
- a reputable WordPress database search/replace tool
- a migration plugin capable of handling serialized data
Step 8: Test Before DNS
Preview the GoDaddy version before pointing live traffic at it.
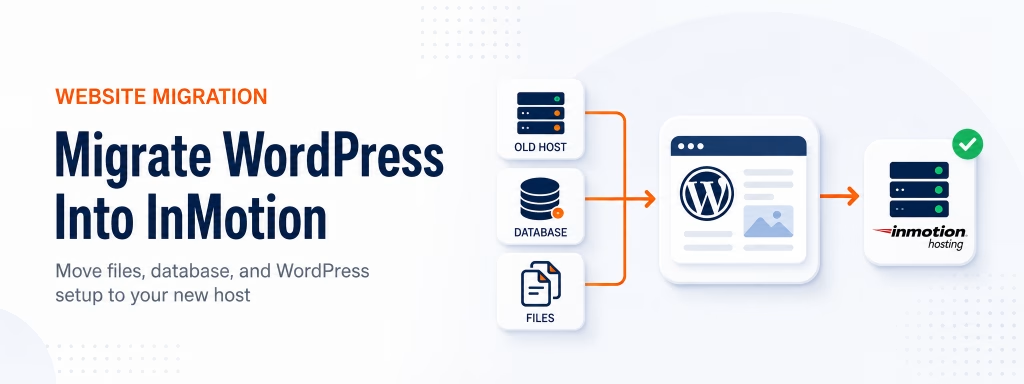
How to Migrate WordPress Into InMotion Hosting
InMotion migrations can be handled several ways.
Method 1: Use InMotion Website Transfer Assistance
Before manually rebuilding everything, check whether InMotion can perform the transfer.
For compatible migrations—especially cPanel to cPanel—they may be able to move more than just WordPress.
Depending on the source account, this can include:
- website files
- databases
- DNS information
This can save significant time on complex accounts.
Method 2: Use All-in-One WP Migration
For many small and mid-sized WordPress websites, All-in-One WP Migration is one of the simplest options.
On the Old Website
Install:
All-in-One WP Migration
Then:
All-in-One WP Migration → Export → Export To → File
Generate the .wpress file.
Download it.
On the New InMotion Website
Install a clean WordPress site.
Install All-in-One WP Migration.
Then:
All-in-One WP Migration → Import → Import From → File
Upload the .wpress file.
Approve the overwrite.
After the migration:
- Log back into WordPress.
- Open Settings → Permalinks.
- Save the permalink structure.
- Clear all caches.
- Test the website.
- Update DNS.
Method 3: Manually Migrate WordPress to InMotion
The manual process is similar to most traditional hosting migrations.
Step 1: Download WordPress Files
Use FTP or SFTP to download the entire WordPress installation.
Step 2: Export the Database
Inside the source host:
phpMyAdmin → Database → Export → SQL
Save the database export.
Step 3: Create a New Database in InMotion
Inside cPanel, use the MySQL Database Wizard.
Create:
- database
- database user
- strong password
Grant the database user:
ALL PRIVILEGES
Save the credentials.
Step 4: Upload the WordPress Files
Upload the files to the correct document root.
For a primary cPanel domain this is often:
public_html
Addon domains may use a different folder.
Step 5: Update wp-config.php
Update:
DB_NAME
DB_USER
DB_PASSWORD
DB_HOST
For many standard InMotion environments, the database host will be:
localhost
Verify your specific hosting configuration.
Step 6: Import the SQL Database
Open phpMyAdmin inside InMotion.
Select the new database.
Choose:
Import
Upload your SQL file.
Step 7: Test the Site Before DNS
A HOSTS-file override is particularly useful here.
This allows your own computer to load:
example.com
from the new server while the rest of the internet still sees the old website.
That lets you test WordPress under the real domain name before changing public DNS.
Step 8: Reset Permalinks
Inside WordPress:
Settings → Permalinks
Click:
Save Changes
This helps regenerate WordPress rewrite rules.
Step 9: Change DNS
Once the site is fully tested, point the domain to InMotion.
You can either:
- update the A record
- change the nameservers
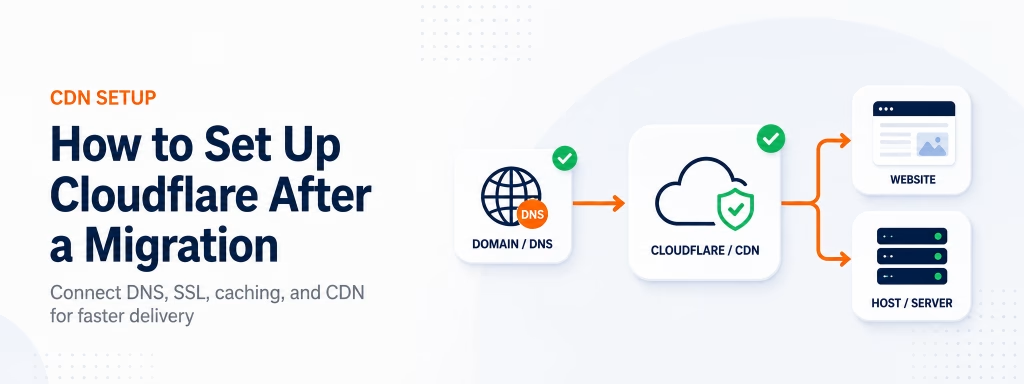
How to Set Up Cloudflare After a Migration
Cloudflare is one of the best tools for simplifying future website migrations.
Instead of using your hosting company as your DNS provider, you can use Cloudflare as the permanent DNS layer.
A clean architecture looks like:
Domain Registrar
↓
Cloudflare
↓
Hosting Provider
↓
WordPress
For example:
GoDaddy Registrar
↓
Cloudflare DNS/CDN
↓
InMotion Hosting
If you later move from InMotion to another host, you may only need to change one Cloudflare A record.
No domain transfer.
No nameserver change.
No DNS rebuild.
Step 1: Add the Domain to Cloudflare
Inside Cloudflare:
Domains → Add / Onboard Domain
Enter your domain.
Cloudflare will attempt to import existing DNS records.
Step 2: Audit the DNS Records
Do not assume Cloudflare discovered everything.
Compare the imported Cloudflare DNS zone to the old provider.
Verify:
- A records
- AAAA records
- CNAME records
- MX records
- TXT records
- SPF
- DKIM
- DMARC
- verification records
- subdomains
This is especially important for company email.
Step 3: Point the Website to the New Host
A typical root domain configuration may look like:
Type: A
Name: @
Content: New server IP
Proxy: Proxied
For www:
Type: CNAME
Name: www
Target: example.com
Proxy: Proxied
The orange cloud indicates Cloudflare is proxying traffic.
Step 4: Do Not Proxy Everything
Cloudflare proxying is intended primarily for web traffic.
Records used for:
- verification
- non-HTTP services
may need to remain DNS-only.
MX records are not proxied.
Many verification CNAME records should remain DNS-only as well.
Step 5: Check DNSSEC
DNSSEC can cause major problems during a nameserver migration if it remains configured for the previous DNS provider.
Before changing authoritative nameservers, verify whether DNSSEC is active.
If needed, disable the old DNSSEC configuration before switching nameservers.
You can enable the correct Cloudflare DNSSEC configuration afterward.
Step 6: Change Nameservers at the Registrar
Cloudflare will assign two nameservers specifically to your account and domain.
For example:
xxxx.ns.cloudflare.com
yyyy.ns.cloudflare.com
Enter the exact nameservers Cloudflare provides inside your registrar.
Do not copy Cloudflare nameservers from another website or account.
Step 7: Wait for Cloudflare Activation
Once the registrar is pointing at Cloudflare’s nameservers, Cloudflare will verify the domain.
After activation, Cloudflare becomes your authoritative DNS provider.
Step 8: Configure SSL Correctly
For most professional WordPress sites, use:
Full (Strict)
when the origin hosting server has a valid SSL certificate.
The traffic flow becomes:
Visitor
↓
Encrypted HTTPS
↓
Cloudflare
↓
Encrypted HTTPS
↓
Hosting Server
Avoid using Flexible SSL for a normal WordPress hosting setup unless there is a very specific reason.
Flexible SSL can:
- leave the origin connection unencrypted
- create redirect loops
- complicate WordPress HTTPS configuration
Step 9: Confirm Universal SSL
Cloudflare typically provisions an edge SSL certificate automatically.
Make sure HTTPS works before considering the migration complete.
Step 10: Enable Cloudflare Proxying
For most WordPress websites, proxy the primary web records:
- root domain
- www
This enables Cloudflare features such as:
- CDN delivery
- DDoS protection
- proxying
- caching
- traffic filtering
- performance optimizations
Step 11: Clear Cloudflare Cache After the Migration
If Cloudflare previously cached files from the old server, you may see outdated content after changing the origin IP.
Purge changed URLs or, for a major server migration, consider performing a one-time full cache purge.
Cloudflare APO for WordPress
Cloudflare also offers Automatic Platform Optimization for WordPress.
APO can cache and distribute more of the WordPress site through Cloudflare’s network.
However, avoid blindly stacking multiple caching systems.
If you use:
- Cloudflare APO
- WP Rocket
- LiteSpeed Cache
- server-side caching
- host-level caching
test carefully.
More caching layers do not automatically mean a faster website.
Sometimes they simply mean more opportunities for conflicts.
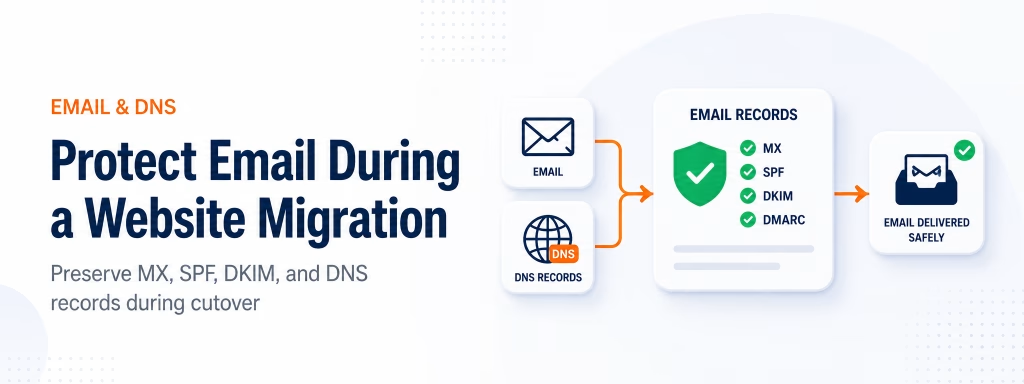
How to Protect Email During a Website Migration
Migrating a WordPress Site to Another Host frequently break email because DNS records get overlooked.
Before changing nameservers, document:
- MX
- SPF
- DKIM
- DMARC
- Autodiscover
- email CNAME records
- TXT verification records
If your business uses Google Workspace, Microsoft 365, or another dedicated email provider, your website hosting migration should generally leave that email platform unchanged.
For example:
Registrar: GoDaddy
DNS: Cloudflare
Website hosting: InMotion
Email: Google Workspace
These can all be completely separate services.
That is normal.
Remote Mail Routing
If your hosting server uses cPanel but email is hosted elsewhere, make sure mail routing is configured correctly.
For third-party email platforms, this commonly means setting cPanel Email Routing to:
Remote Mail Exchanger
Otherwise the hosting server may incorrectly attempt to handle local mail.
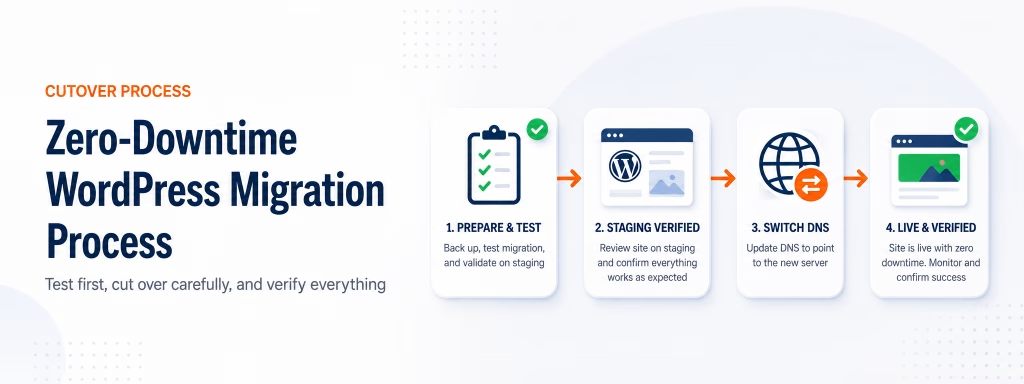
Zero-Downtime WordPress Migration Process
For important business websites, you should aim for little or no visible downtime.
Here is a practical cutover process.
Before the Migration
- back up WordPress
- back up database
- export DNS
- document email records
- reduce DNS TTL if practical
Build the New Website
Move WordPress to the new server.
Do not change public DNS.
Test the Destination
Use:
- temporary domain
- staging
- HOSTS-file override
Fix every issue before cutover.
Confirm SSL
Make sure the destination server can serve HTTPS.
If Cloudflare will be using Full (Strict), the origin needs a valid certificate.
Perform a Final Database Sync When Necessary
For mostly static business websites, one database migration may be enough.
For dynamic sites such as:
- WooCommerce
- membership sites
- booking websites
- forums
- learning platforms
you must consider what happens between the initial migration and DNS cutover.
For example:
You copy a WooCommerce database at 9:00 AM.
A customer places an order on the old server at 10:00 AM.
You point DNS to the new server at 11:00 AM.
That 10:00 AM order may not exist on the new server.
For dynamic sites, perform a final synchronization or temporarily place the live site in maintenance mode during the final cutover.
Update DNS
Point traffic at the new server.
If using Cloudflare, this may simply mean changing:
OLD SERVER IP
to:
NEW SERVER IP
Clear Caches
Clear:
- WordPress cache
- hosting cache
- CDN cache
- Cloudflare cache
- browser cache while testing
Test Again
Verify:
- homepage
- internal pages
- mobile
- HTTPS
- forms
- checkout
- logins
- redirects
- APIs
- CRM
- analytics
Do Not Cancel the Old Host Immediately
Keep the old hosting account active until you are certain the migration is stable.
The old server is your emergency rollback.
Canceling it immediately removes your easiest recovery option.
WordPress Migration Decision Tree
Moving a Normal WordPress Site Into GoDaddy?
Start with:
1. GoDaddy Automatic Migration
If unavailable or unsuccessful:
2. ManageWP Clone
If that fails:
3. Manual SFTP + Database Migration
Moving a Normal WordPress Site Into InMotion?
Start with:
1. InMotion Transfer Assistance
or:
2. All-in-One WP Migration
For larger or more complicated websites:
3. Manual FTP/SFTP + Database
For advanced migrations:
4. SSH, rsync, or WP-CLI
Only Changing Website Hosting?
Do not transfer the registrar unless you have another reason.
Use:
Migrate Website → Test Website → Change DNS
Want Everything Under One Provider?
You can consolidate eventually.
But do it in stages:
Website Migration
↓
Verify
↓
DNS
↓
Verify
↓
Registrar Transfer
That is safer than attempting everything at once.
Recommended Hosting Architecture
For businesses and agencies managing multiple WordPress websites, separating the major systems creates a much cleaner infrastructure.
A strong architecture looks like:
Registrar
↓
Cloudflare
↓
Hosting
↓
WordPress
The registrar controls ownership of the domain.
Cloudflare controls:
- DNS
- CDN
- proxying
- edge SSL
- security
The hosting company runs the WordPress application.
This architecture reduces your dependence on any individual hosting company.
If the host becomes:
- slow
- expensive
- unreliable
- restrictive
you can move WordPress elsewhere without rebuilding the entire domain infrastructure.
At that point the migration becomes:
Backup
↓
Build New Server
↓
Migrate WordPress
↓
Test
↓
Change Cloudflare A Record
↓
Verify
↓
Decommission Old Server
That is far easier to manage than moving:
- domain registration
- nameservers
- DNS
- hosting
- SSL
- WordPress
at the same time.
WordPress Migration Checklist
Before declaring a migration complete, verify all of the following.
Website
- Homepage works
- Internal pages work
- Blog posts work
- Images load
- CSS loads
- JavaScript loads
- Mobile layout works
- Navigation works
WordPress
- Admin login works
- Plugins work
- Theme works
- Permalinks work
- Scheduled tasks work
Lead Generation
- Forms submit
- Form emails arrive
- CRM receives leads
- Thank-you pages work
- Tracking parameters work
Ecommerce
- Products load
- Cart works
- Checkout works
- Payment gateway works
- Order emails arrive
- Customer accounts work
SEO
- URLs remain unchanged
- Redirects work
- canonical tags are correct
- robots.txt is correct
- sitemap loads
- Google Search Console remains connected
- analytics works
DNS
- Root domain resolves
- www resolves
- MX records are correct
- SPF works
- DKIM exists
- DMARC exists
- important TXT records remain
Security
- HTTPS works
- SSL certificate is valid
- Cloudflare is configured correctly
- security plugins are re-enabled
- temporary migration permissions are removed
Cleanup
- Clear caches
- Take a new backup
- Monitor logs
- Keep old host temporarily
- Cancel old host only after final verification
WordPress Migration FAQ
How long does it take to migrate a WordPress website?
The actual file transfer may take anywhere from a few minutes to several hours depending on the size of the website and migration method.
DNS changes can begin working quickly, although full propagation may take longer.
Registrar transfers commonly take several days and should be treated separately from hosting migrations.
Do I need to transfer my domain when moving WordPress hosting?
No.
In most cases you can leave the domain registered where it is and simply change the DNS record pointing the domain to the new hosting server.
Can I migrate WordPress without downtime?
Yes.
The safest process is:
- Build the website on the destination server.
- Test it before changing DNS.
- Prepare SSL.
- Perform a final database sync if needed.
- Change DNS.
- Keep the old server running temporarily.
What is the easiest way to migrate WordPress?
For simple websites, a migration plugin or host-provided migration tool is generally easiest.
Common methods include:
- GoDaddy automatic migration
- ManageWP
- All-in-One WP Migration
- hosting-provider migration services
Manual migrations are best reserved for situations where automated methods fail or where you need more control.
What files do I need to migrate WordPress?
A complete traditional WordPress migration generally requires:
- WordPress files
wp-content- themes
- plugins
- uploads
- WordPress database
Depending on the hosting environment, server rules and configuration may also need to be recreated.
Will changing nameservers break email?
It can.
When you change authoritative nameservers, the DNS zone at the new provider must contain the correct email records.
Make sure MX, SPF, DKIM, DMARC, and other email-related records are recreated before the cutover.
Should I use Cloudflare with WordPress?
For many business websites, yes.
Cloudflare can provide:
- centralized DNS
- CDN delivery
- SSL
- DDoS protection
- proxying
- caching
- security tools
It also makes future hosting migrations easier because you can often switch hosting providers by changing a single DNS record.
Should my domain and hosting be with the same company?
They can be, but they do not need to be.
Keeping domain registration, DNS, hosting, and email separate can actually provide more flexibility and reduce vendor lock-in.
A common professional setup is:
Registrar → Cloudflare → Hosting → WordPress
with email handled independently by Google Workspace or Microsoft 365.
Final Thoughts
The technical act of copying a WordPress website is usually not the hardest part of a migration.
The real risk comes from everything surrounding the website:
- DNS
- SSL
- caching
- domains
- databases
- integrations
- propagation
- dynamic website data
A professional WordPress migration separates those systems and changes them in a controlled order.
The safest process is:
Audit → Backup → Build Destination → Migrate → Test → Prepare DNS → Cut Over → Verify → Monitor → Decommission Old Hosting
If you follow that process, moving WordPress between hosts such as GoDaddy, InMotion Hosting, Bluehost, AWS, or other providers becomes significantly more predictable.
And if you use Cloudflare as a permanent DNS layer, future migrations can become even simpler.
Instead of rebuilding the domain infrastructure every time you change hosting providers, you can migrate WordPress, test it, and update the origin server.
That is how a hosting migration should work.
Need Help Migrating a WordPress Website?
A WordPress migration is straightforward until DNS, email, SSL, plugins, caching, databases, or server configurations start interacting.
If you are moving an important business website and cannot afford broken forms, lost email, downtime, or SEO problems, NeuWeb Marketing can help manage the migration from planning through final cutover.
Migrate carefully. Test before launch. Never change more infrastructure than necessary.